
Diamond wire cutting has gained popularity across various industries, including construction, mining, and manufacturing, due to its precision, efficiency, and adaptability. However, proper adjustment of the cutting angle is essential to maximize efficiency, extend wire lifespan, and achieve a high-quality finish. This article will cover everything you need to know about adjusting the cutting angle when using diamond wire, exploring essential concepts, methods, and tips for getting the best results.

Understanding Diamond Wire Cutting and the Importance of Angle Adjustment
Diamond wire cutting involves a thin, flexible wire embedded with industrial diamonds that slice through hard materials such as concrete, stone, and metal. The wire is typically looped and pulled in a controlled manner, allowing for highly precise cuts. One of the most critical aspects of diamond wire cutting is adjusting the cutting angle to match the material, the cutting objectives, and the setup.
Improper angle adjustments can lead to a host of problems, including:
- Premature wire wear: If the wire isn’t aligned correctly, it can wear unevenly or snap, reducing efficiency.
- Inaccurate cuts: Angle misalignment often results in uneven or inaccurate cuts, requiring additional time to correct.
- Increased vibration and noise: The incorrect angle can increase machine vibration, causing excess noise and reducing cutting quality.
Key Factors to Consider When Adjusting the Cutting Angle
- Material Hardness and Density: Different materials require specific cutting angles for optimal results. Hard materials like granite and reinforced concrete need a more conservative angle to avoid excess friction, while softer materials can tolerate a sharper approach.
- Type of Diamond Wire: The cutting angle can vary depending on the type of diamond wire used, such as electroplated, sintered, or resin-bonded. Electroplated wires, for example, are suited for more delicate angles, while sintered wires can handle a broader range of angles.
- Wire Tension: The tension of the diamond wire plays a significant role in determining the ideal cutting angle. Higher tension can allow for a steeper cutting angle without risking deflection or wire breakage.
- Speed of the Wire: Wire speed affects the angle; high speeds typically call for a more conservative angle to reduce resistance, while slower speeds can accommodate a more aggressive approach.
- Machine and Setup: Fixed or automated machines have different adjustment capacities. The type of machine impacts how accurately you can set and hold your cutting angle, especially if adjustments are done manually.
Methods for Adjusting the Cutting Angle
1. Pre-Cutting Setup
- Determine the Initial Angle: Based on the material and wire type, start by setting a standard angle (usually around 10-15 degrees) as a baseline. This angle provides a balance between control and efficiency, making it easier to adjust further.
- Adjust Tension: Ensure the diamond wire has appropriate tension before cutting, as tension affects how much angle adjustment will be necessary. High tension requires a gentler angle to avoid snapping, while low tension can lead to deflection if not properly aligned.
- Use Guides or Templates: For some jobs, especially when precision is critical, templates or angle guides can help set an exact angle consistently. Mechanical guides are beneficial in maintaining the desired angle.
2. Adjusting During Cutting
- Monitor the Cut Path: Once cutting begins, observe the path closely. If the wire starts veering off, it may indicate an improper angle. Slight adjustments (around 1-2 degrees at a time) can correct the alignment without overburdening the wire.
- Respond to Vibration and Noise: If you notice excess vibration, adjust the angle to lessen strain on the wire. Reducing the angle slightly (by around 2-3 degrees) can often alleviate this issue, ensuring a smoother cut.
- Adjust Based on Material Resistance: As you cut, observe the material’s reaction. Hard spots or reinforcements within the material may require momentary adjustments to avoid stalling. Reduce the angle to allow smoother progression through harder sections.
3. Final Adjustments for Complex Cuts
- Multi-Angle Cuts: For intricate cuts requiring several changes in direction, use gradual angle shifts rather than abrupt changes to prevent wire wear or breakage. If you need to make a 90-degree cut, break it into smaller, manageable angles (e.g., adjust by 10-15 degrees at each interval).
- Tapered Cuts: For tapered or angled edges, start at a minimal angle (5-10 degrees), gradually increasing the angle as you progress deeper into the material. This incremental approach minimizes stress on the wire and prevents deviation.
Techniques to Refine Angle Adjustment
- Using Automated Controls: Some advanced cutting machines offer automated angle control, allowing for precise adjustments. These systems adjust the angle in real-time based on material feedback, ensuring optimal cutting efficiency. When available, use automated systems to set precise angles at the start and adjust as needed during cutting.
- Laser Guides: Laser guides are useful for checking alignment and angle accuracy, especially for longer cuts. Position the laser to confirm the cutting path is consistent with the planned angle and make adjustments as necessary.
- Real-Time Monitoring Systems: Advanced setups include monitoring systems that measure vibration and tension, offering real-time feedback on the cutting angle. This data allows for immediate adjustments, minimizing wire wear and enhancing precision.
Troubleshooting Common Issues Related to Cutting Angle
- Wire Breakage: If the wire breaks or shows wear on one side, the angle may be too steep, creating uneven tension. Reduce the angle and try again, ensuring the wire tension is balanced.
- Uneven Cut Depth: Uneven depth indicates an incorrect cutting angle or inconsistent feed rate. Gradually adjust the angle by a few degrees until the cut depth becomes uniform.
- Increased Vibration: Excess vibration typically suggests an angle that’s too aggressive or improper tension. Reduce the angle by 2-3 degrees and check that tension is appropriately balanced.
- Slow Cutting Speed: If the cut progresses too slowly, the angle may be too conservative. Increase the angle incrementally to boost cutting speed without compromising wire durability.
Tips for Maintaining Optimal Angle During Diamond Wire Cutting
- Regularly Check and Calibrate: Throughout the cutting process, periodically check the angle and tension. Materials often vary in density, which can affect angle stability.
- Lubricate if Necessary: In some cases, lubrication can reduce friction, allowing for smoother angle adjustments. Be cautious with the type and amount of lubrication, as excess lubricant may affect wire grip.
- Avoid Overloading the Wire: Set reasonable expectations for the angle adjustment and wire speed. Overloading the wire can reduce its lifespan and create hazardous conditions.
- Work in Sections for Complex Cuts: For intricate shapes, break the cut into smaller sections, adjusting the angle as you progress. This approach reduces the risk of deviation and maintains a steady cut path.
Angle Adjustment in Various Applications
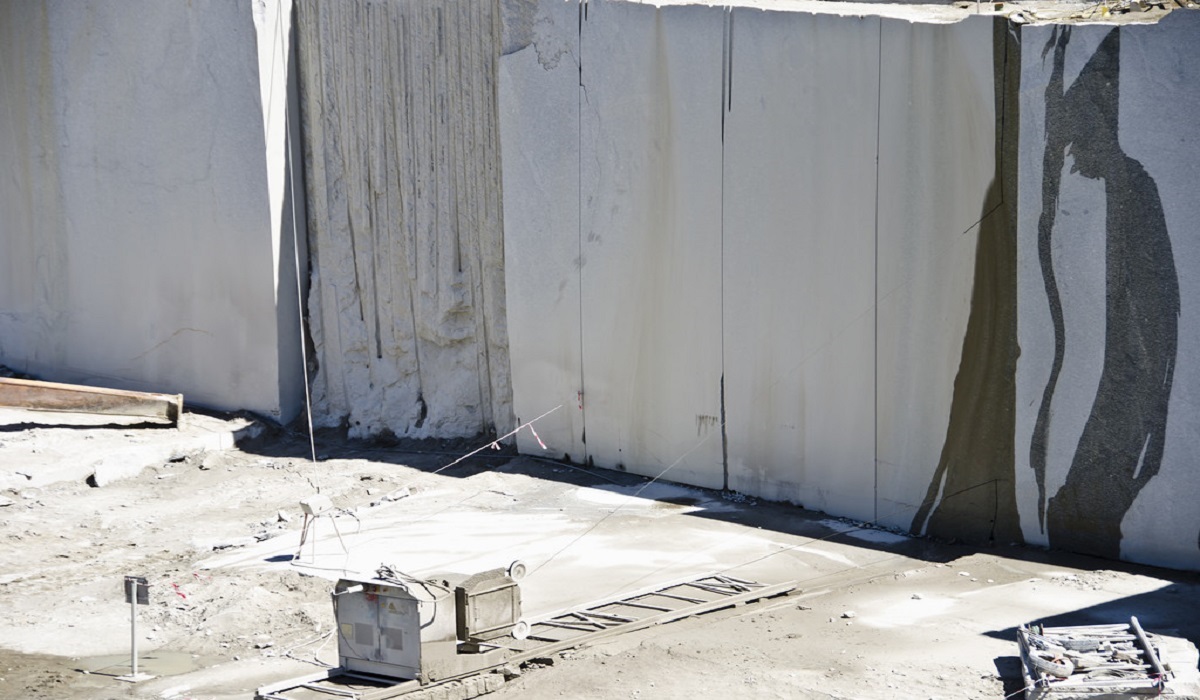
- Stone Quarrying: In stone quarrying, a shallow angle (around 10-12 degrees) is preferred to maintain control and minimize friction, especially for larger blocks.
- Metal Cutting: For metals, especially harder alloys, start with a conservative angle (8-10 degrees) to avoid excess heat buildup. Metals generally require lower angles to prevent wire wear.
- Concrete Cutting: Concrete’s variable composition often calls for angle adjustments. Begin at around 12-15 degrees and adjust based on the presence of rebar or dense aggregates.
- Demolition: Demolition projects involve different materials, and a flexible approach is essential. Start with a low angle and increase as needed, based on resistance.
Conclusion
Adjusting the cutting angle when using diamond wire is a nuanced process that requires understanding the material, wire characteristics, and cutting goals. By following best practices such as pre-cutting setup, real-time monitoring, and troubleshooting adjustments, you can achieve precision cuts with minimal wire wear. Regular checks, gradual adjustments, and specialized tools like laser guides or automated controls further enhance the process. Proper angle adjustment not only increases the efficiency and quality of cuts but also extends the lifespan of your diamond wire, making it a fundamental skill for anyone using diamond wire cutting techniques in their projects.