
A hole saw is a versatile tool used in various industries, from woodworking to metalworking, and construction. It’s designed to create precise circular holes in materials like wood, plastic, metal, and drywall. Whether you’re a professional tradesperson or a DIY enthusiast, keeping your hole saw in pristine condition is essential for achieving clean cuts and maintaining the tool’s lifespan. Regular cleaning of your hole saw not only helps retain cutting efficiency but also prevents damage caused by rust, debris build-up, or dullness. This guide offers practical tips on how to clean and maintain your hole saw to ensure it remains in excellent working condition for years to come.

Why Cleaning Your Hole Saw Matters
Proper cleaning and maintenance of your hole saw offer numerous benefits, including:
- Prolonged Tool Lifespan: Regular cleaning reduces wear and tear, helping your hole saw last longer.
- Improved Cutting Efficiency: Debris and rust can affect the sharpness of the saw’s teeth, reducing its cutting performance. A clean tool delivers more accurate, smoother cuts.
- Reduced Overheating: Dirt and grime can make the tool work harder, leading to overheating. Keeping your hole saw clean ensures it runs efficiently, preventing heat damage to both the tool and the material.
- Cost Savings: By maintaining your hole saw, you save on replacements and repairs, leading to long-term savings.
Let’s explore how to effectively clean and care for your hole saw to maximize these benefits.
Cleaning Materials You’ll Need
Before diving into the cleaning process, gather these essential materials:
- A stiff-bristle brush or wire brush
- Compressed air (optional)
- Cleaning solvent (mineral spirits, isopropyl alcohol, or a specialized metal cleaner)
- Soft cloths or rags
- Steel wool or scouring pad for stubborn rust
- Lubricating oil (such as machine oil or WD-40)
- Gloves and safety goggles for protection
These tools will ensure a thorough cleaning and help remove both surface dirt and deeper grime or rust.
Step-by-Step Cleaning Guide for Hole Saws
Step 1: Safety First
Before cleaning your hole saw, always prioritize safety. Make sure the hole saw is disconnected from any power source. If it’s attached to a drill or another power tool, remove it carefully. Wear gloves to protect your hands from sharp edges, and use safety goggles to shield your eyes from any debris.
Step 2: Remove Excess Debris
Start by removing any visible debris, such as wood chips, metal shavings, or dust. Use a stiff-bristle brush or wire brush to scrub the surface of the hole saw, paying special attention to the teeth. For more stubborn material, gently tap the hole saw on a hard surface to dislodge larger particles.
If you have access to compressed air, it’s a great way to blow out any tiny bits of debris that may be lodged between the teeth or in hard-to-reach areas. This step prevents debris build-up, which can dull the cutting edges or cause uneven wear over time.
Step 3: Soak in Cleaning Solvent
For deeper cleaning, soak the hole saw in a cleaning solvent. Mineral spirits or isopropyl alcohol work well for most materials, while a specialized metal cleaner may be necessary for metal hole saws.
Fill a container with enough solvent to submerge the hole saw completely. Let it soak for 10-15 minutes to break down any grease, oil, or hardened debris that may have accumulated on the tool.
After soaking, use a brush or a scouring pad to scrub off any remaining dirt or grime. Focus on the teeth and the areas where debris tends to gather, such as the inside of the hole saw.
Step 4: Rust Removal (if applicable)
If you notice rust forming on your hole saw, it’s important to remove it as soon as possible. Rust not only weakens the tool but also impairs its cutting ability.
Use steel wool or a scouring pad to gently scrub away rust spots. If the rust is more severe, you can soak the hole saw in a mixture of white vinegar and water (1:1 ratio) for a few hours. The acidity of the vinegar helps dissolve rust without damaging the metal.
After soaking, scrub the rusted areas with steel wool or a brush. Rinse the hole saw with clean water and dry it thoroughly to prevent further rusting.
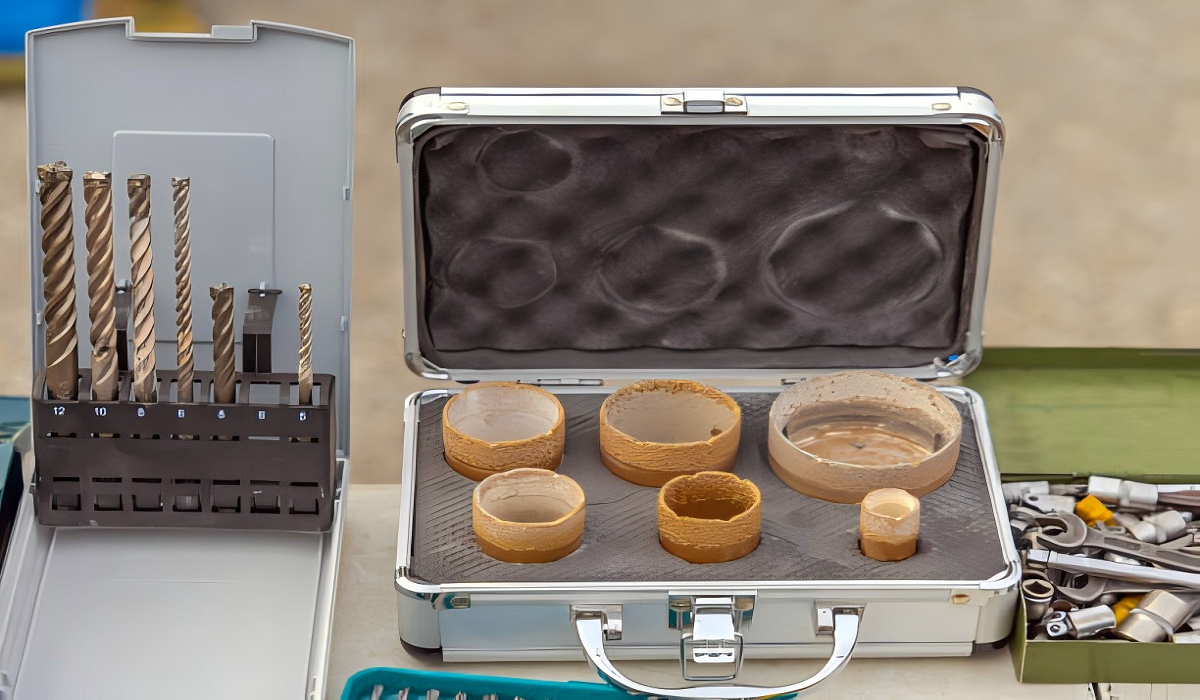
Step 5: Clean the Arbor
The arbor, which connects the hole saw to the drill, is another part that needs attention. Wipe it down with a cloth soaked in cleaning solvent to remove any grease or debris. Check for any signs of wear or damage, as a faulty arbor can affect the performance of the hole saw.
If the arbor has accumulated rust or stubborn dirt, follow the same cleaning procedure as for the hole saw itself.
Step 6: Dry Thoroughly
After cleaning, it’s crucial to dry the hole saw completely to avoid rust formation. Use a dry, soft cloth to wipe down the entire tool. Ensure that no moisture is left in the teeth or inside the hole saw.
If you used water during the cleaning process, you can also use compressed air to blow out any remaining moisture. Allow the hole saw to air dry for a few minutes in a well-ventilated area.
Step 7: Apply Lubrication
Once the hole saw is clean and dry, apply a light coat of lubricating oil to prevent rust and keep the tool in good working condition. WD-40 or any general-purpose machine oil works well for this purpose.
Use a clean cloth to apply the oil, making sure to cover the teeth and any other exposed metal surfaces. Wipe off any excess oil to prevent it from attracting dust or debris.
Lubrication is especially important if you store your hole saw in a humid environment, as it helps create a protective barrier against moisture.
Additional Maintenance Tips
In addition to regular cleaning, there are a few maintenance practices that can help prolong the life of your hole saw:
1. Sharpen the Teeth Regularly
Over time, the teeth on your hole saw will become dull, reducing its cutting efficiency. To maintain sharpness, you can use a small file to sharpen each tooth. This is a delicate process, so take your time and ensure that the teeth are uniformly sharp. If you’re not comfortable doing this yourself, consider taking the tool to a professional for sharpening.
2. Use the Right Lubrication While Cutting
When cutting through metal or other tough materials, always use cutting oil to reduce friction and heat. This not only makes the cutting process smoother but also prevents the hole saw from overheating, which can cause damage to both the tool and the material.
3. Store Properly
Proper storage is essential to keeping your hole saw in good condition. Store the tool in a dry, cool place, preferably in a tool chest or case to protect it from dust, moisture, and impact damage. If you live in a humid environment, consider using silica gel packs in your tool storage area to absorb moisture and prevent rust.
4. Check for Damage Before Use
Before using your hole saw, inspect it for any signs of wear or damage. Look for bent teeth, cracks, or rust spots that could affect the performance of the tool. If you notice any issues, address them before proceeding with your project. Using a damaged hole saw can lead to poor cuts or even injury.
5. Avoid Overheating
To extend the life of your hole saw, avoid overheating it during use. If you’re drilling through thick or tough materials, use intermittent pressure and allow the tool to cool down between cuts. Overheating can cause the teeth to dull prematurely and weaken the saw.
Conclusion
A well-maintained hole saw can last for years, providing you with clean, precise cuts across a variety of materials. Regular cleaning, proper storage, and periodic maintenance like sharpening and lubrication will help ensure that your tool stays in peak condition. By following these cleaning tips, you can protect your investment, improve your cutting results, and keep your hole saw working efficiently for many projects to come.