
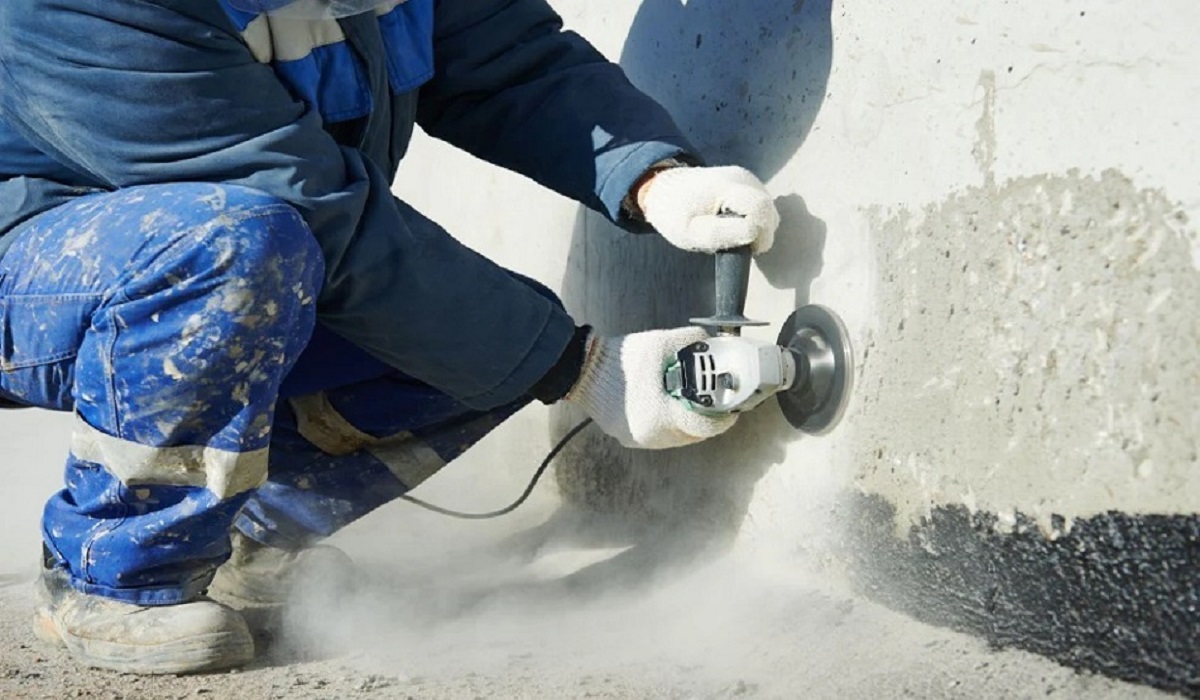
Diamond grinding wheels are essential tools in various industries, from metalworking to masonry. They are designed to shape, grind, and polish materials with precision. However, like any tool, they require regular maintenance to ensure optimal performance. One crucial aspect of this maintenance is cleaning. In this article, we’ll explore the best practices for cleaning diamond grinding wheels, the tools you’ll need, and the importance of keeping your wheels in top condition.

Understanding Diamond Grinding Wheels
Before diving into the cleaning process, it’s important to understand what diamond grinding wheels are and how they function. These wheels are made by embedding diamond particles within a metal or resin bond. The diamonds provide the cutting edge, while the bond holds everything together and determines the wheel’s durability and performance. Over time, these wheels can accumulate debris, dulling the diamond surface and reducing effectiveness.
Why Clean Diamond Grinding Wheels?
Cleaning diamond grinding wheels is vital for several reasons:
- Performance Optimization: A clean wheel cuts more efficiently, resulting in smoother finishes and reduced grinding time.
- Longevity: Regular cleaning extends the life of the grinding wheel by preventing wear and tear from accumulated debris.
- Safety: Debris buildup can lead to overheating, which poses safety risks. Keeping the wheel clean minimizes this hazard.
- Cost-Effectiveness: Well-maintained tools save money in the long run by reducing the need for replacements.
Tools and Materials Needed for Cleaning
To effectively clean a diamond grinding wheel, gather the following tools and materials:
- Brush: A soft-bristle brush is ideal for removing loose debris without damaging the wheel.
- Compressed Air: This can help blow away dust and small particles from the wheel surface.
- Cleaning Solution: Depending on the type of debris, a mild detergent or a specialized wheel cleaner may be needed.
- Water: For rinsing off any cleaning solution.
- Soft Cloth: To wipe down the wheel after cleaning.
- Diamond Wheel Dresser: For resurfacing the wheel after cleaning if needed.
- Protective Gear: Safety glasses and gloves to protect yourself during the cleaning process.
Step-by-Step Cleaning Process
Step 1: Prepare the Workspace
Before you start cleaning, ensure your workspace is well-lit and free of clutter. This will help you focus and avoid accidents. Gather all your tools and materials for easy access.
Step 2: Disconnect the Grinding Machine
Always ensure that the grinding machine is turned off and unplugged before you start cleaning. This prevents accidental activation, which can lead to serious injuries.
Step 3: Brush Off Loose Debris
Using the soft-bristle brush, gently brush the surface of the diamond grinding wheel. This will help remove any loose particles and debris. Be sure to brush in a radial pattern (from the center outwards) to avoid damaging the wheel.
Step 4: Use Compressed Air
Next, use compressed air to blow away any remaining dust and debris. Hold the air nozzle at a distance to avoid damaging the wheel’s surface. This step is crucial for getting into the crevices where debris might be trapped.
Step 5: Apply Cleaning Solution
If your diamond grinding wheel is heavily soiled, prepare a cleaning solution. For general cleaning, mix a mild detergent with water. For specific stains or heavy buildup, consider using a specialized diamond wheel cleaner.
- Dampen a Soft Cloth: Dip the cloth into the cleaning solution and wring it out to avoid excess moisture.
- Wipe the Wheel: Carefully wipe the surface of the wheel with the damp cloth, focusing on areas with visible buildup.
Step 6: Rinse and Dry
After cleaning, rinse the wheel with clean water to remove any soap residue. Make sure to dry it thoroughly using a clean, soft cloth. Leaving moisture on the wheel can lead to rusting or degradation of the bond.
Step 7: Dresser Usage (If Necessary)
If you notice that the grinding wheel has become glazed or its cutting performance has decreased, use a diamond wheel dresser. This tool reshapes and cleans the diamond surface, exposing fresh cutting edges. Follow the manufacturer’s instructions for proper use.
Step 8: Inspect the Wheel
Once cleaning is complete, inspect the diamond grinding wheel for any signs of damage, such as cracks or excessive wear. Addressing these issues promptly can prevent accidents and prolong the wheel’s life.
Step 9: Store Properly
Finally, store the diamond grinding wheel in a clean, dry place. If possible, keep it covered to prevent dust accumulation. Proper storage helps maintain the wheel’s condition and ensures it’s ready for use when you need it.
Additional Cleaning Tips
- Frequency: Clean your diamond grinding wheels regularly, depending on usage. For heavy use, a weekly cleaning might be necessary, while lighter use could require cleaning once a month.
- Avoid Harsh Chemicals: Steer clear of abrasive or corrosive cleaning agents, as they can damage the bond or diamond particles.
- Temperature Control: If using water, ensure that the water is at room temperature. Extreme temperatures can cause thermal shock and damage the wheel.
Conclusion
Maintaining your diamond grinding wheel through regular cleaning is essential for ensuring optimal performance, longevity, and safety. By following the steps outlined in this guide, you can keep your wheels in top shape, reduce downtime, and enhance your overall productivity. Remember, a clean grinding wheel not only performs better but also ensures a safer working environment. So, take the time to care for your tools—they’ll repay you with efficiency and durability in the long run.